How to Carve a Pumpkin Beautifully: A Beginner-Friendly Guide
Last updated: November 1, 2026
Bonjour! It’s J.
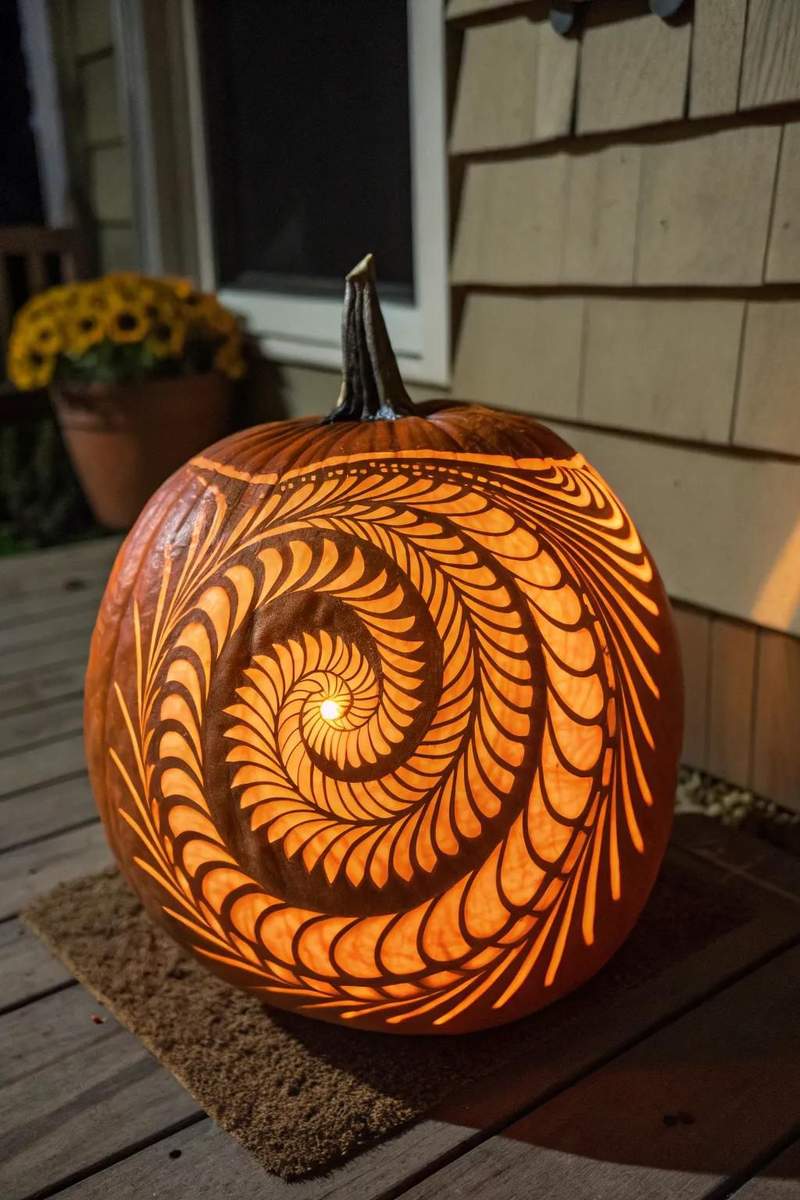
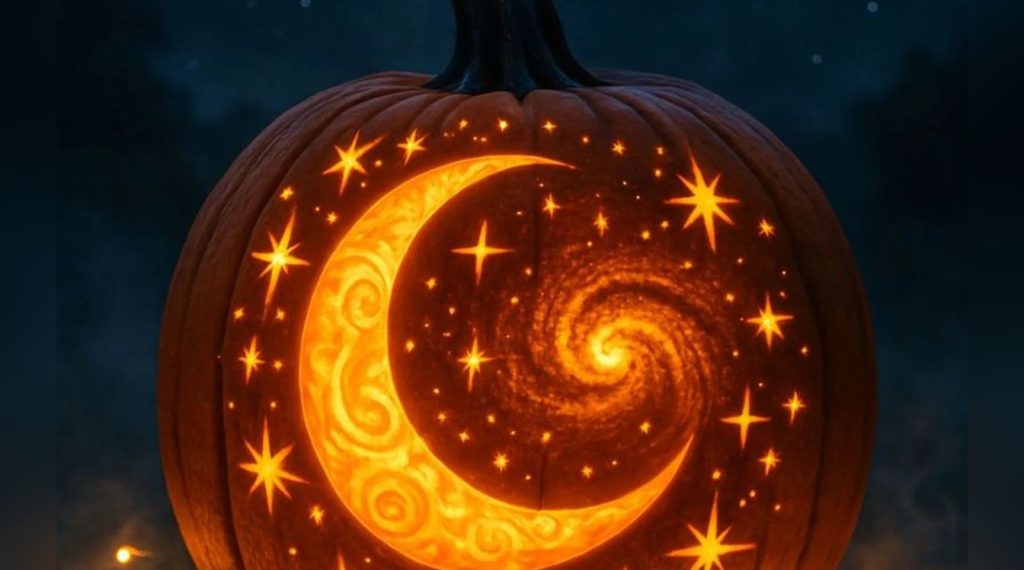
Nothing says Halloween like a glowing jack-o'-lantern. Carving looks intimidating, but it's really just seven simple steps. Here's how to carve a pumpkin beautifully, step by step. Even first-timers can follow along — no artistic talent required. Kids love helping with the scooping and design (just handle the sharp tools yourself).
My own pumpkin story started in 2018, when my kids and I carved our very first jack-o'-lanterns together. They did the designing (and most of the scooping — kids love the messy part), and I handled the sharp tools. The result wasn't perfect, but seeing their faces light up when we put the candle inside? That was the real Halloween magic.
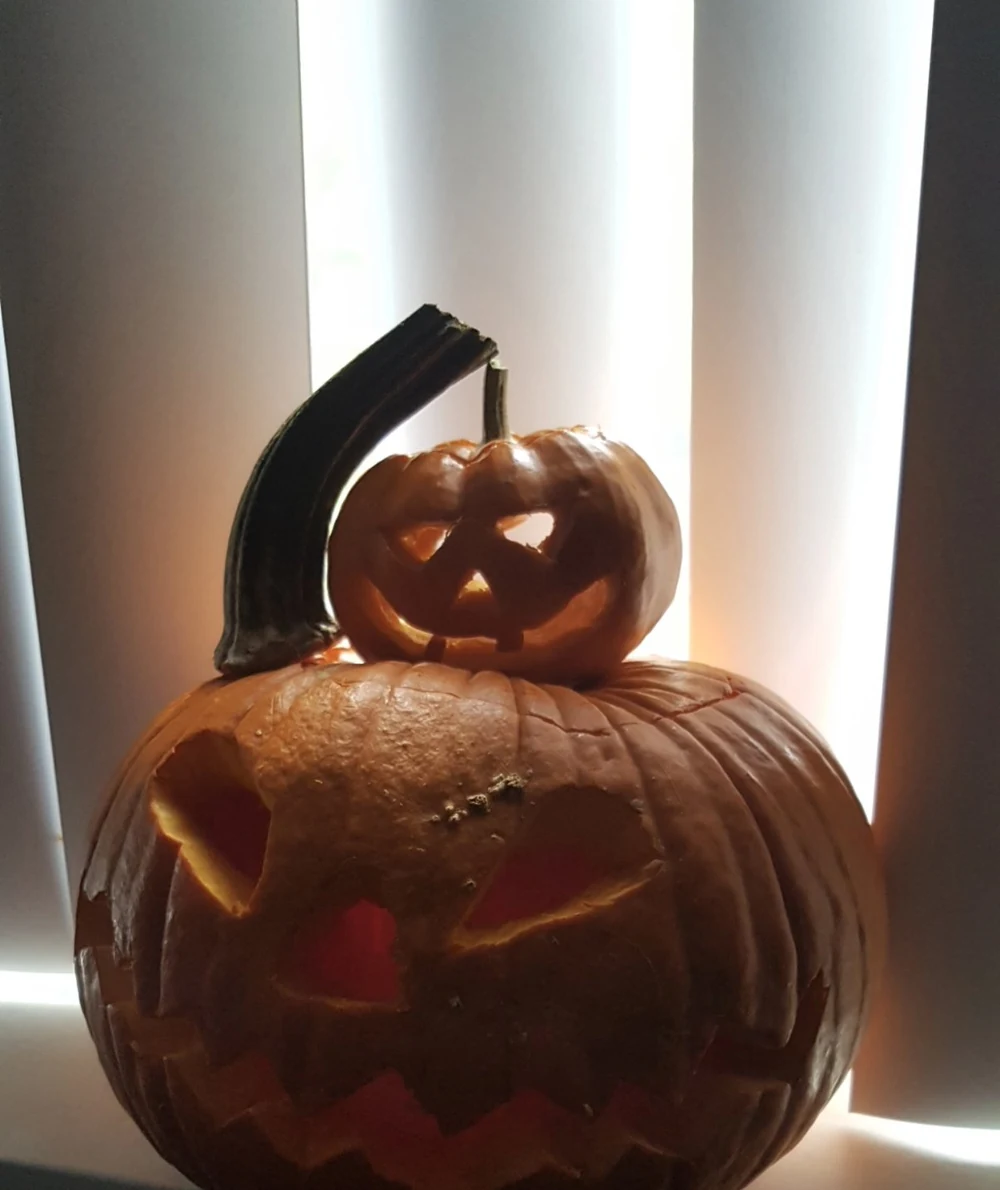
2018 — Our first jack-o'-lanterns, carved together with the kids. The little one stacked on top was their idea.
🌿 Quick Take
- 7 beginner-friendly steps to a beautiful jack-o’-lantern: pick, prepare, cut, sketch, carve, preserve, and style.
- Budget an afternoon, and keep the cutting to adults — kids can help with scooping and design.
- Use LED candles inside — safer than real flames.
- Carve a day or two before Halloween for the freshest glow; a carved pumpkin lasts about a week.
- Don’t waste the insides: roast the seeds with salt and olive oil at 180°C (350°F) for 15 minutes.
🎃 Step 1: Pick Your Pumpkin
- Choose one with a smooth, blemish-free surface.
- A flat bottom means it sits stably.
- Medium size is easiest to carve.
- Tap it — a hollow sound means ripe and ready.
🛠️ Step 2: Gather Your Tools
- A pumpkin carving kit (knives, saws, punches) — or substitute with a paring knife and spoon.
- A marker for sketching your design.
- Lay down newspaper for easy cleanup.
- A large bowl for the seeds and pulp — don’t throw them away (see below).
🔪 Step 3: Cut the Top
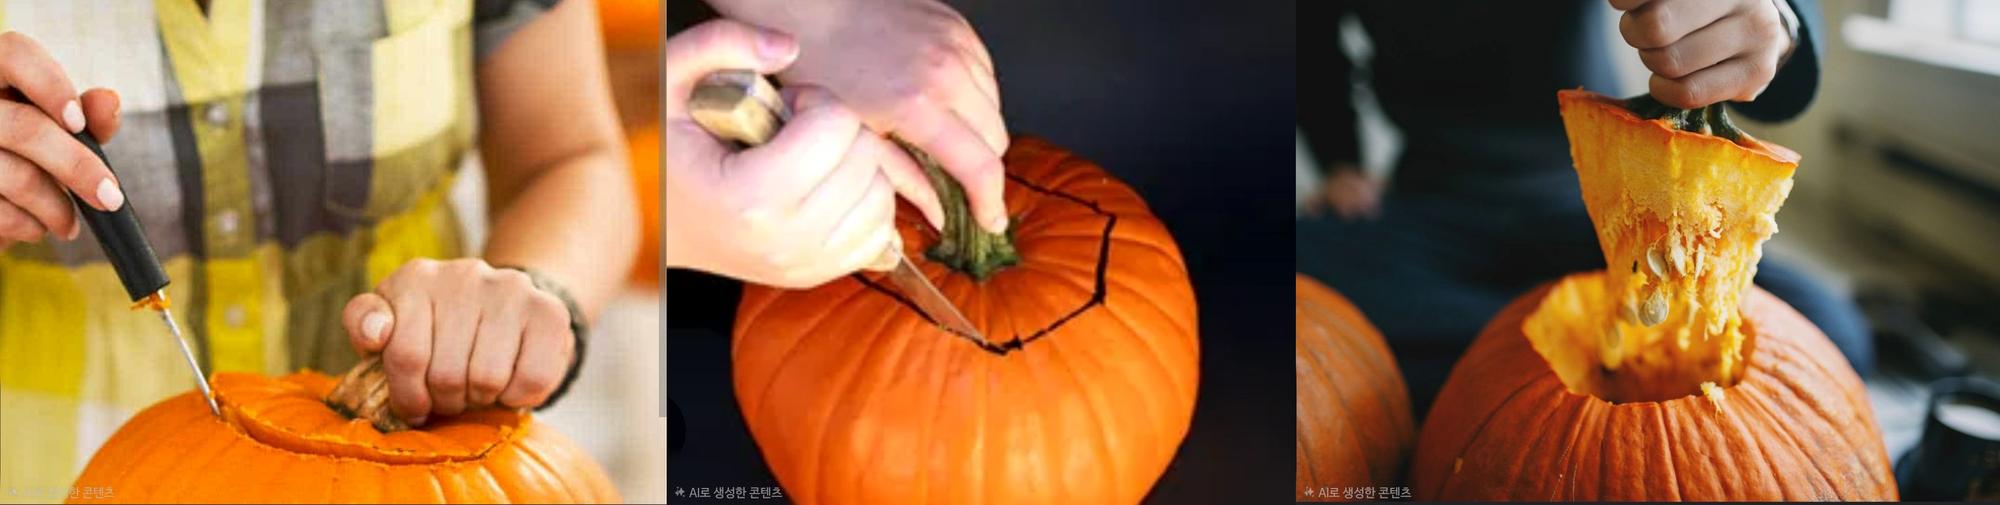
- Cut around the stem at an angle to create a lid.
- The angled cut keeps the lid from falling inside.
- Scoop out the insides with a spoon. Aim for walls about 2–3 cm thick.
✏️ Step 4: Sketch Your Design
- Draw your design on the surface with a marker.
- Start with a simple face if it's your first time.
- You can also print a template and trace it.
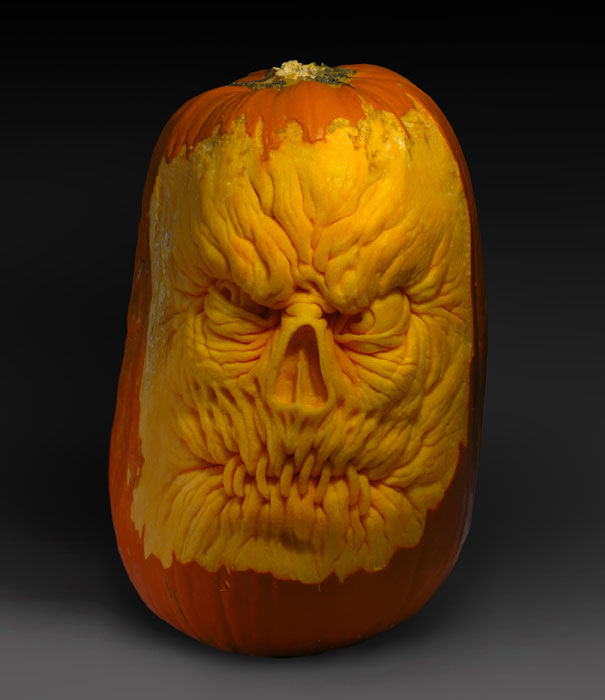
🎨 Step 5: Start Carving
- Cut out the small details first, working slowly.
- Use a gentle sawing motion for clean lines.
- Don't worry about mistakes — they add character.
- Push cut pieces out from the inside rather than pulling from outside.
🕯️ Step 6: Preserve and Light
- Rub petroleum jelly on the cut edges to make it last longer.
- Keep it in a cool spot and it'll last about a week.
- A light spritz of water inside each day keeps it from drying out.
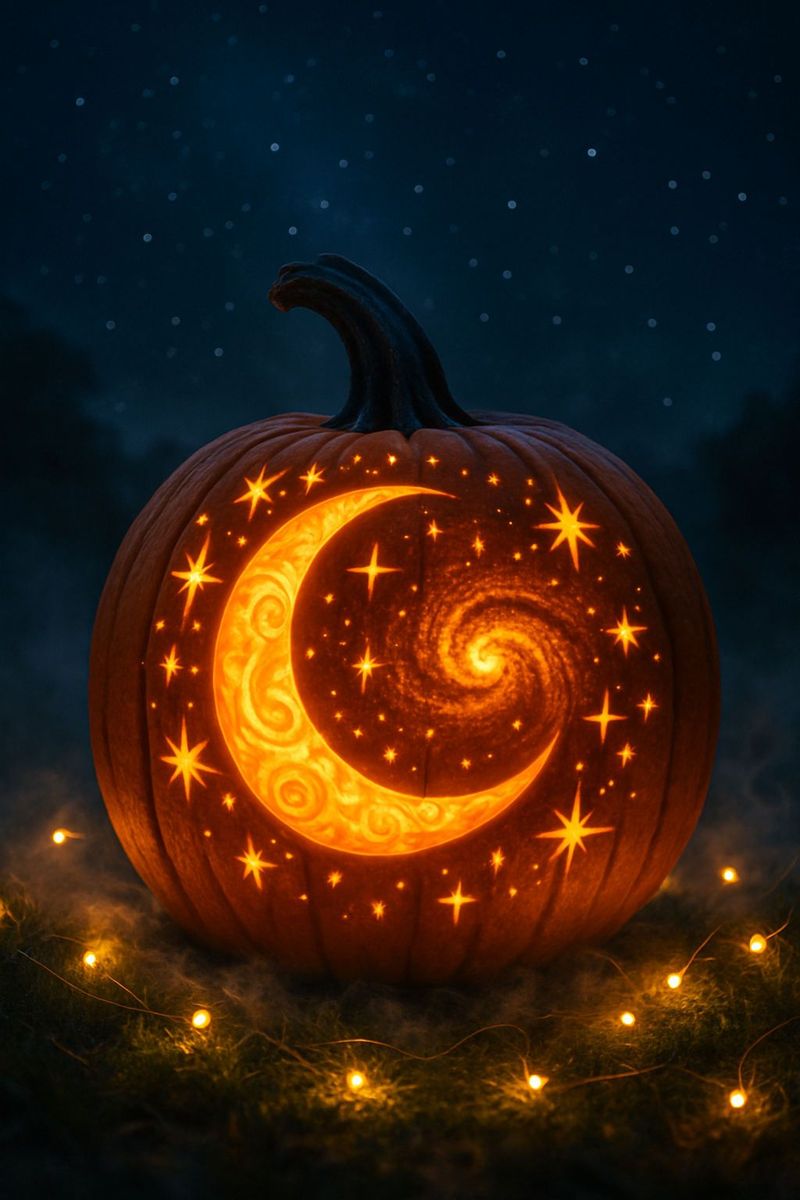
✨ Step 7: Style It Beautifully
- Instead of cutting all the way through, try shaving the surface thin for a soft glow effect.
- Group pumpkins of different sizes together for more impact.
- Scatter dried leaves around for atmosphere.
- Add a cozy blanket and warm drinks nearby — instant fall photo spot.
🧪 Carving Science: Varieties, Tools, and Preservation
Not all pumpkins carve the same. Field pumpkins — the big classic Halloween types like Howden and Connecticut Field — are essentially bred for carving: thick walls, sturdy rind, and big hollow cavities that are easy to scoop. The small “sugar” or “pie” pumpkins (Small Sugar and friends) have thinner walls and denser, sweeter flesh — wonderful for eating, but they carve less forgivingly and their thinner walls can look blotchy when lit. Miniature varieties like Baby Boo or Jack-Be-Little are adorable as decor but nearly impossible to carve — I use them whole. White pumpkins (Lumina, Casper) carve beautifully too, though their rinds can be a touch harder, so allow extra patience with the saw.
Tool safety, from someone who learned the hard way: always cut on a stable, dry surface, and always saw away from your body — never pull a blade toward yourself. Keep your free hand behind the blade, not in front of it. Dry hands grip better than wet ones, so wipe your knife and hands often. Kids can scoop and draw, but the actual cutting is adult-only in my house — pumpkin saws are small but sharp. And the classic kitchen rule applies: never try to catch a falling knife. Let it fall.
Why pumpkins rot — and how to slow it down: a carved pumpkin is essentially a wound. Cutting exposes the moist inner flesh to air, and two things start immediately: dehydration (the flesh dries and shrivels) and mold (spores landing on the cut surfaces start colonies). Everything preservation-wise fights one of those two. Rubbing petroleum jelly on the cut edges creates a moisture barrier that slows drying. Keeping the pumpkin cool — even in the fridge overnight — slows microbial growth dramatically, since cold is mold’s enemy. A light mist of water inside the cavity each day replaces lost moisture. Some carvers soak their pumpkins in a diluted bleach solution (roughly a teaspoon of bleach per gallon of water) for a few hours to kill surface microbes — it’s a widely used trick, but rinse well and keep treated pumpkins away from kids and pets. Even with all of this, a carved pumpkin is a fresh decoration: in my experience, about a week is a realistic lifespan, which is why I carve close to the 31st.
♻️ Bonus: Don’t Waste the Insides
- Roast the seeds with salt and olive oil at 180°C (350°F) for 15 minutes — the best crunchy snack.
- Use the scooped flesh for pumpkin soup or porridge.
- After Halloween, compost the pumpkin instead of trashing it.
💡 Design Ideas for Beginners
- Classic face: triangle eyes, triangle nose, jagged smile — never goes wrong.
- Polka dots: use a drill or apple corer for perfect circles. Easy and looks amazing lit up.
- Silhouette: carve a simple shape (cat, bat, moon) instead of a face.
- Word carving: carve “BOO” or your family name for a personal touch.
- Search “pumpkin carving templates” online — thousands of free printable designs.
Here's proof that you don't need to stick to scary faces. In 2019, I joined a pumpkin carving contest with my team — and we made a bunny pumpkin. Rabbit ears from the cut-off rind, star cutouts on the sides, a tealight inside. It was the cutest thing on the table, and it taught me that the best designs come from playing around, not from templates.
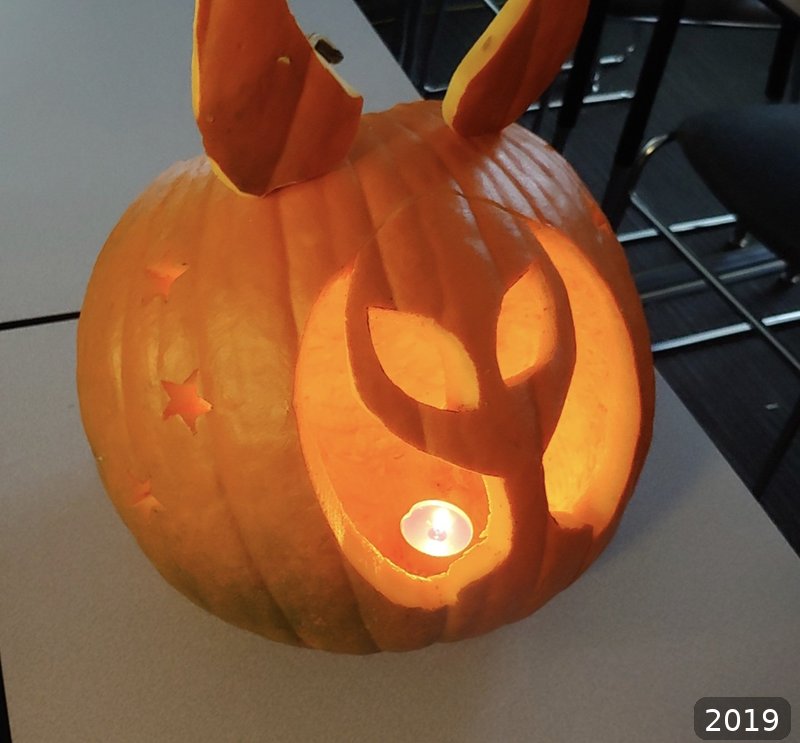
2019 — Our team's bunny pumpkin. Who says Halloween has to be scary?
Pumpkin carving doesn't have to be perfect. The moment you light up your handmade jack-o'-lantern, Halloween is complete. Happy carving!
📸 From My Camera Roll: Halloween 2019
The 2019 contest was a team event at the place where I was studying. Every team got a pumpkin and an hour. The room filled with laughter, pumpkin guts, and the smell of fresh-cut rind. Some teams went scary, some went funny — one team even stuck a soda can in their pumpkin's mouth with a crow perched on top. Here's what that night looked like, straight from my phone:
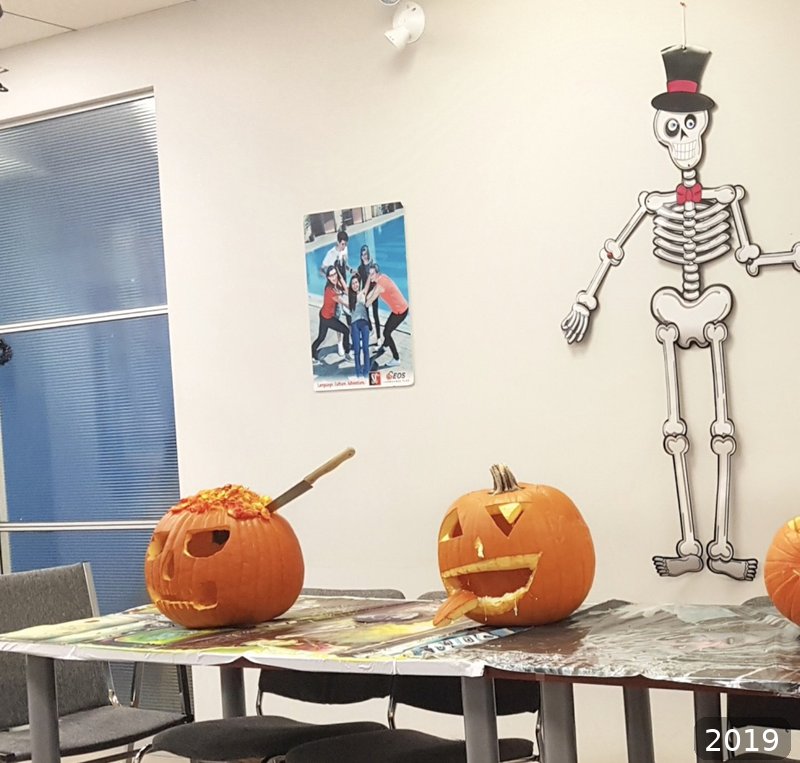
2019 — The contest table. Skeletons on the wall, pumpkins everywhere.
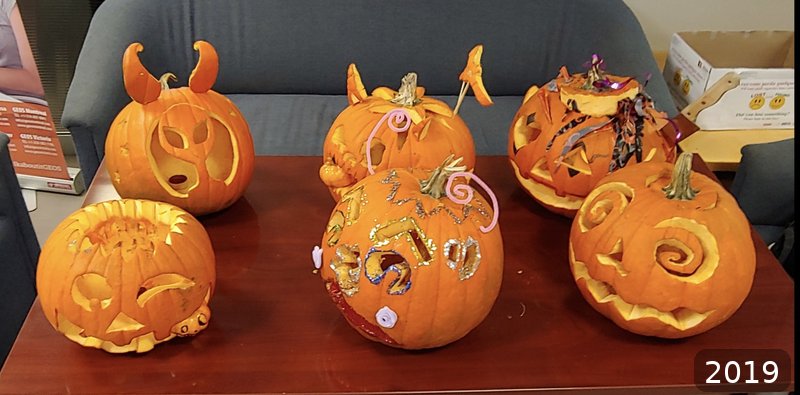
2019 — Every team had its own style — glitter, ribbons, wild cuts.
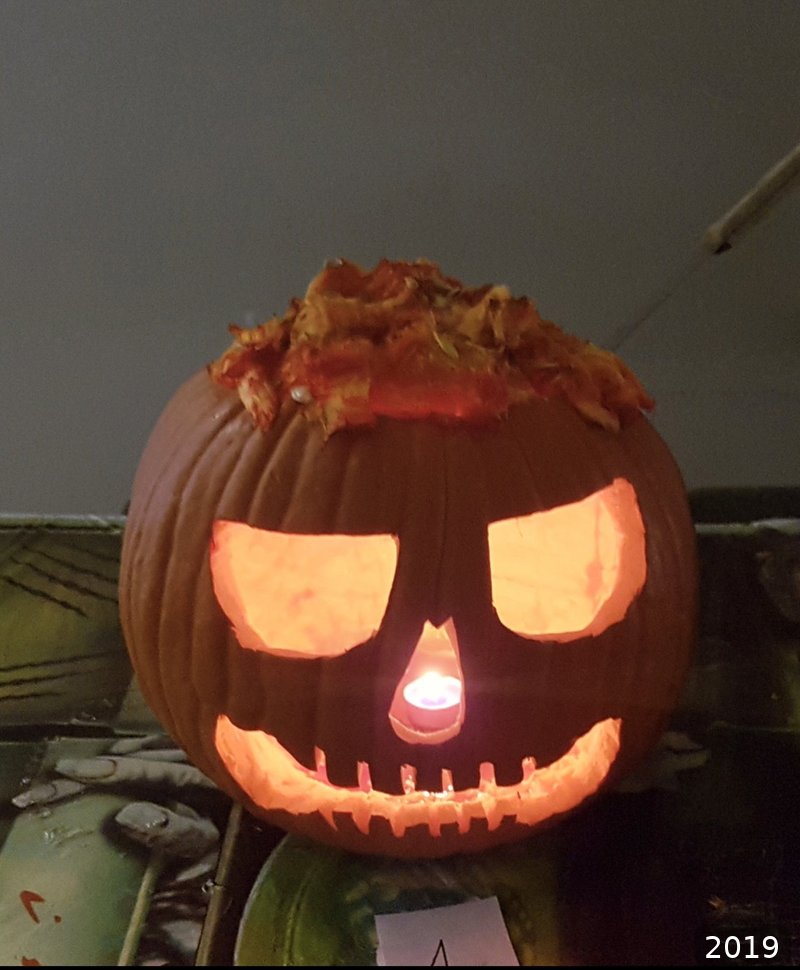
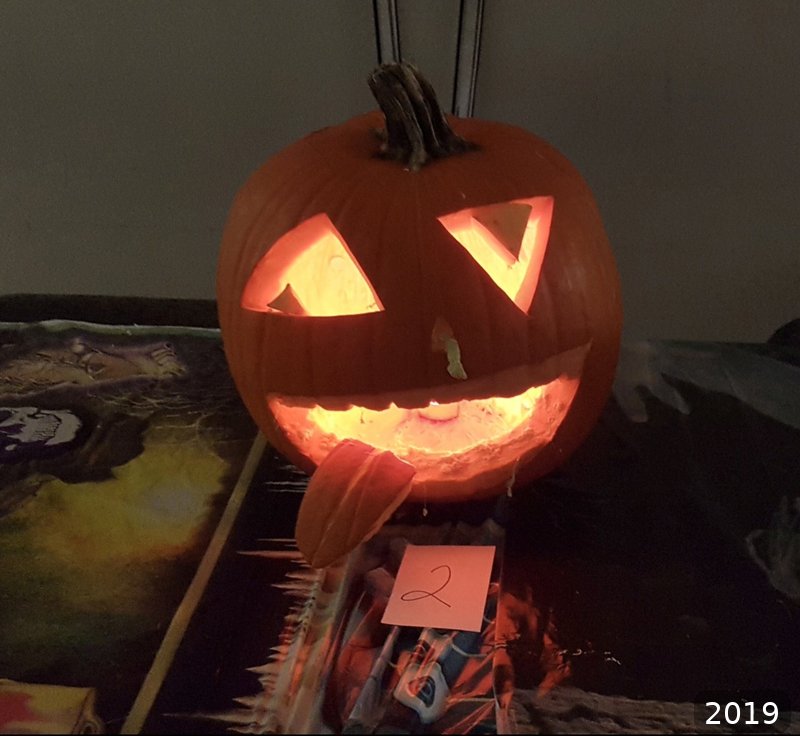
2019 — Lights off, candles in. This is when the magic happens.
2019 — A classic scary face, glowing from within.
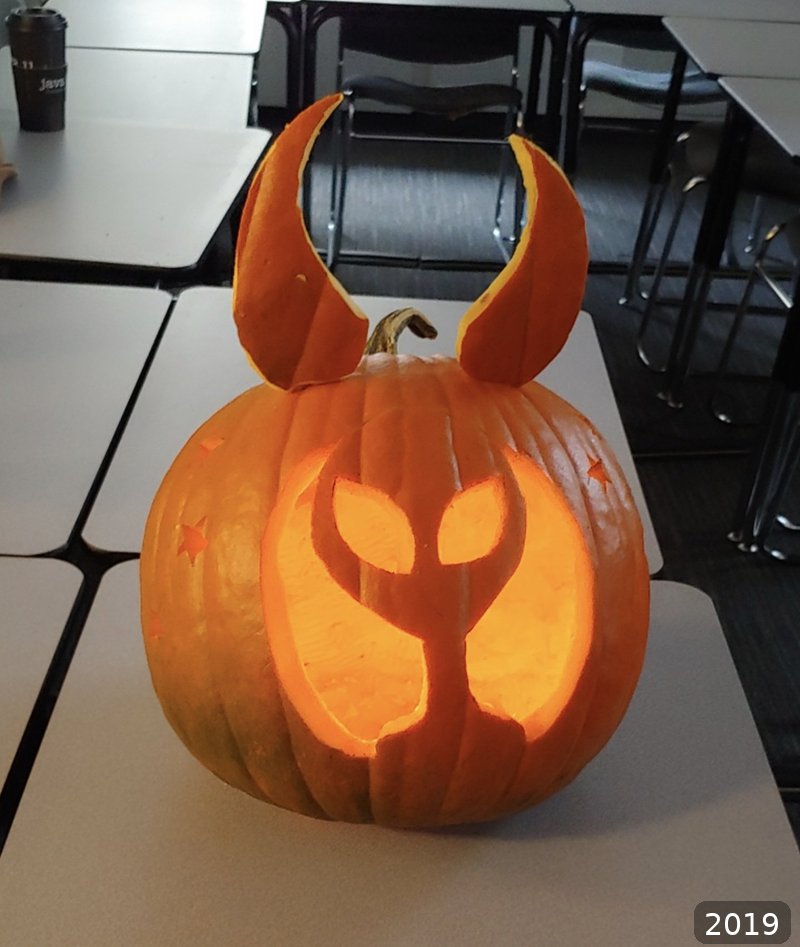
2019 — Our bunny, lit up. The stars on the side glow like constellations.
And here's one more from 2018 — a different angle of the kids' creation. Looking at these photos now, what I remember isn't the carving technique. It's the laughter, the mess, and the pride on small faces when the candle went in.
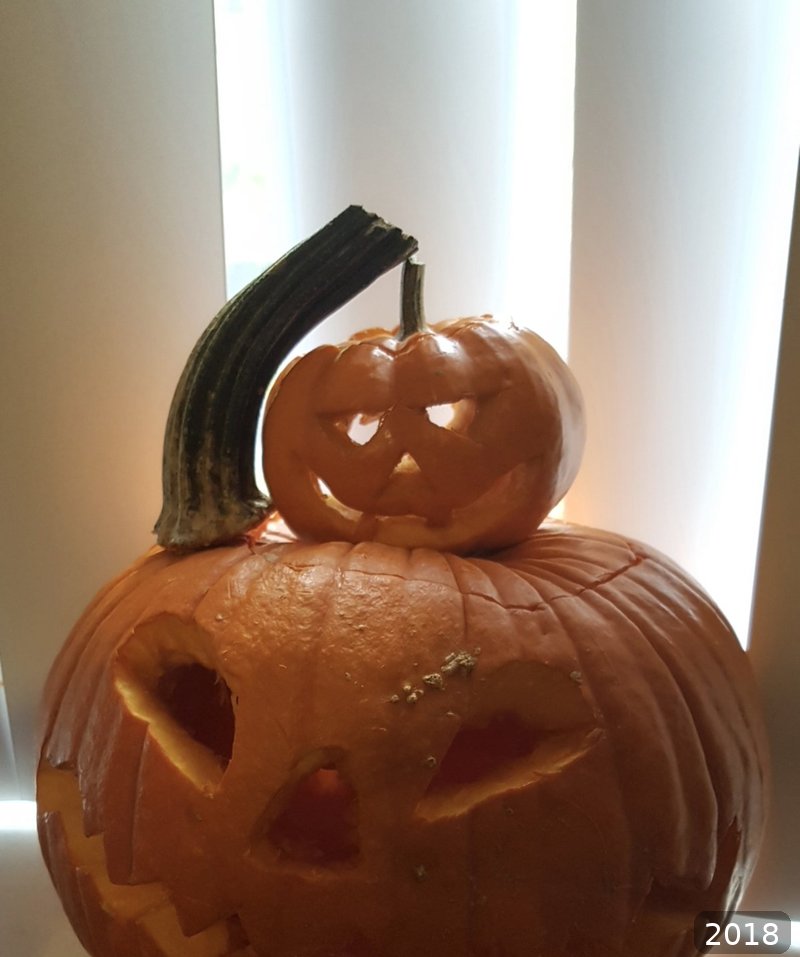
2018 — The kids' jack-o'-lantern, up close. Imperfect and perfect at the same time.
All photos here are from my own phone: no filters, no staging. Real Halloween, real memories.
Wishing you a beautiful day.
Before you go, you might also find my guides on 3 Warm and Sweet Pumpkin Recipes for Fall and Winter and Modern Fall Interior with Halloween Vibes: How to Decorate Without the Clutter useful — and if you’re dressing up too, 15 Easy Halloween Makeup Ideas 2026 has the looks to match your lantern.
Happy living 💛
— J.
💌 You May Also Like
Get the Free Canada Savings Checklist
Join the newsletter — get the free PDF checklist and weekly Canada savings tips in your inbox.
Read Next


Some links in this post are referral or affiliate links. If you sign up or buy through them, I may receive a bonus or commission at no extra cost to you. It helps keep this blog running — thank you!